Import Clear Linux Image and Launch Instance on AWS
Clear Linux is available on the AWS marketplace. However, it may not be the latest version because we only update the marketplace on a periodic basis, as often as weekly or but maybe monthly as well. If you want to use the latest release from us or upload your own custom image, follow this guide.
Prerequisites
You are familiar with AWS and how to use it
Download or create a Clear Linux OS image for AWS
Obtain an AWS Clear Linux OS image using one of these methods.
Download pre-built image
Go to the Downloads page and download the Amazon* Web Services (AWS) image.
Uncompress it.
Create a custom image using clr-installer
On a Clear Linux OS system, open a terminal.
Install the clr-installer bundle.
sudo swupd bundle-add clr-installer
Download a sample aws.yaml configuration file.
Make changes to the configuration file as needed. See Installer YAML Syntax for more information on clr-installer configuration YAML syntax.
Download the AWS image post-install script and make it executable.
Produce an image with clr-installer.
clr-installer --template $PWD/aws.yaml
Create an S3 bucket
Log into AWS.
Go to Services, Storage, and select S3. See Figure 1.
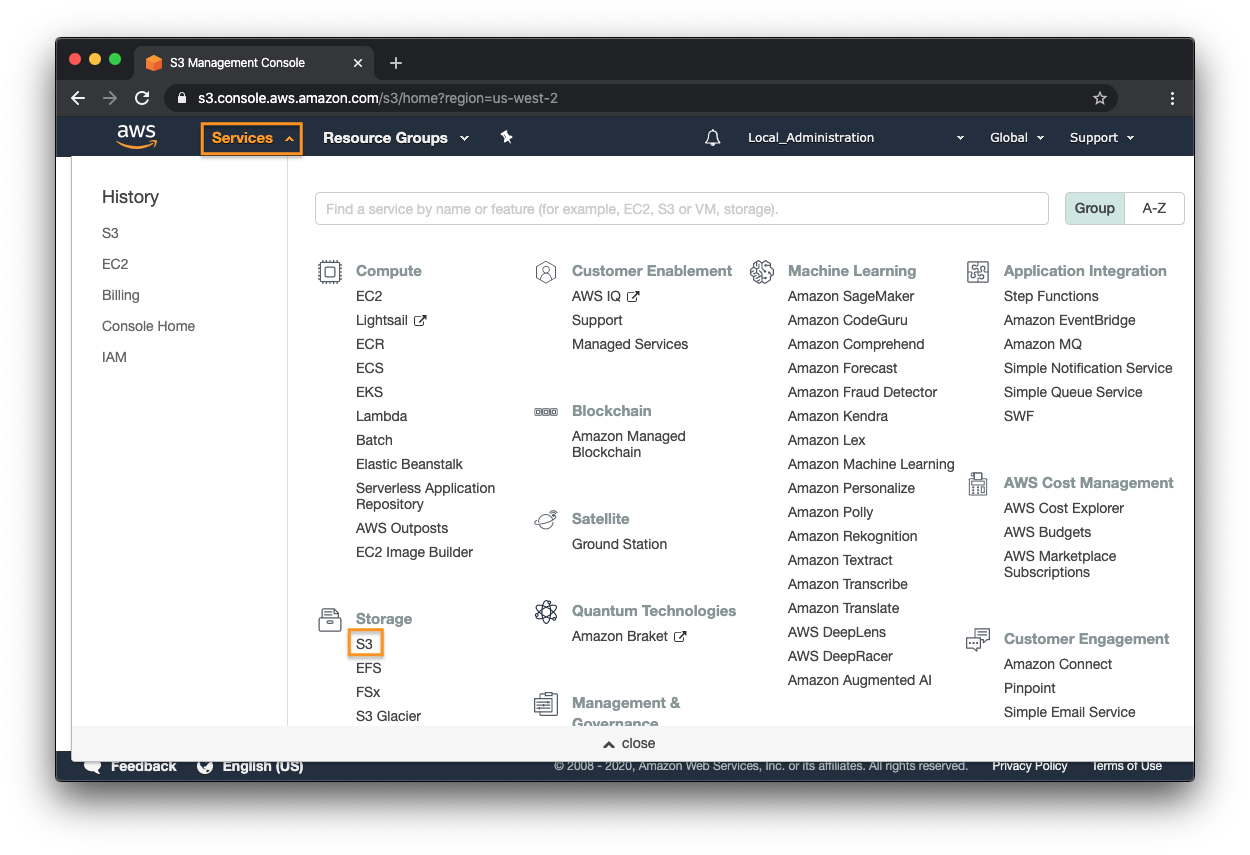
Figure 1: AWS Services - S3 Management Console
Click + Create bucket.
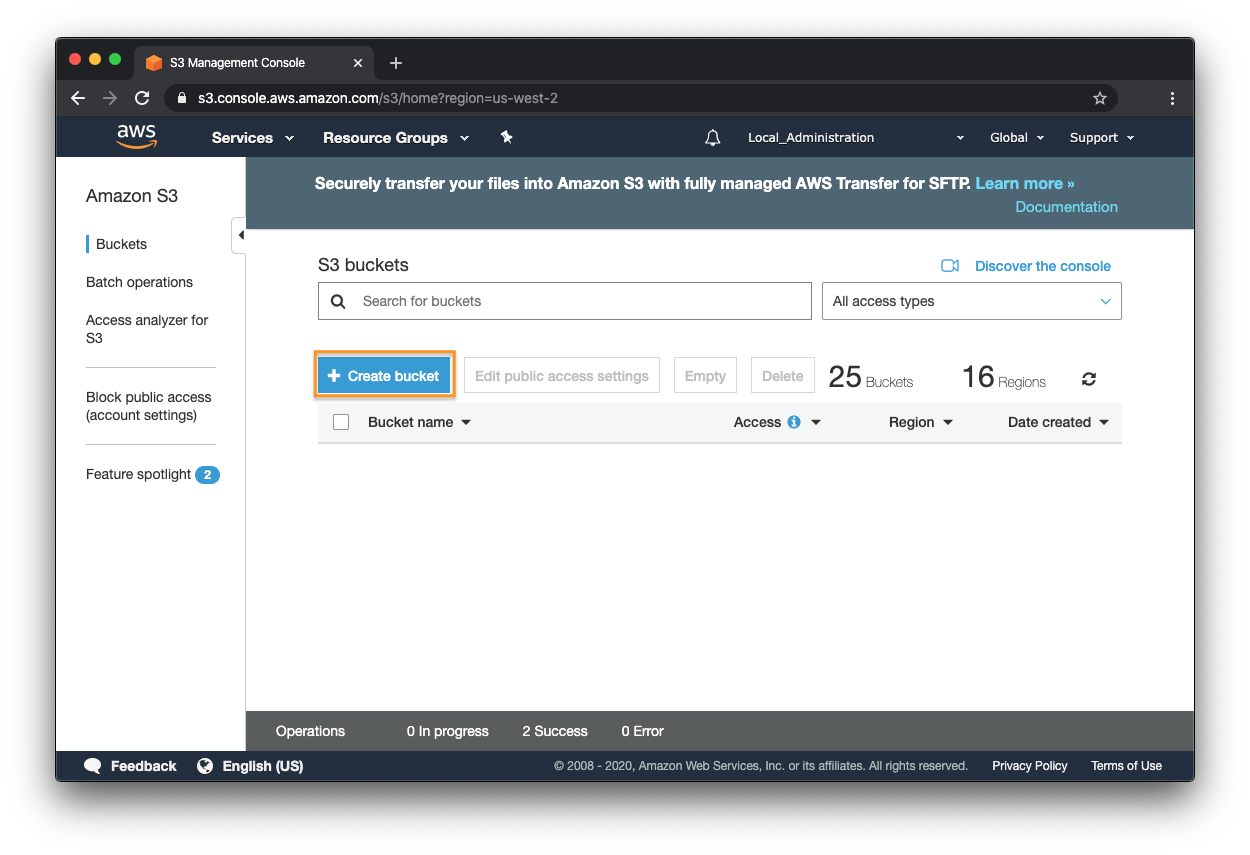
Figure 2: AWS S3 - Create bucket
Set a bucket name and select a region. See Figure 3.
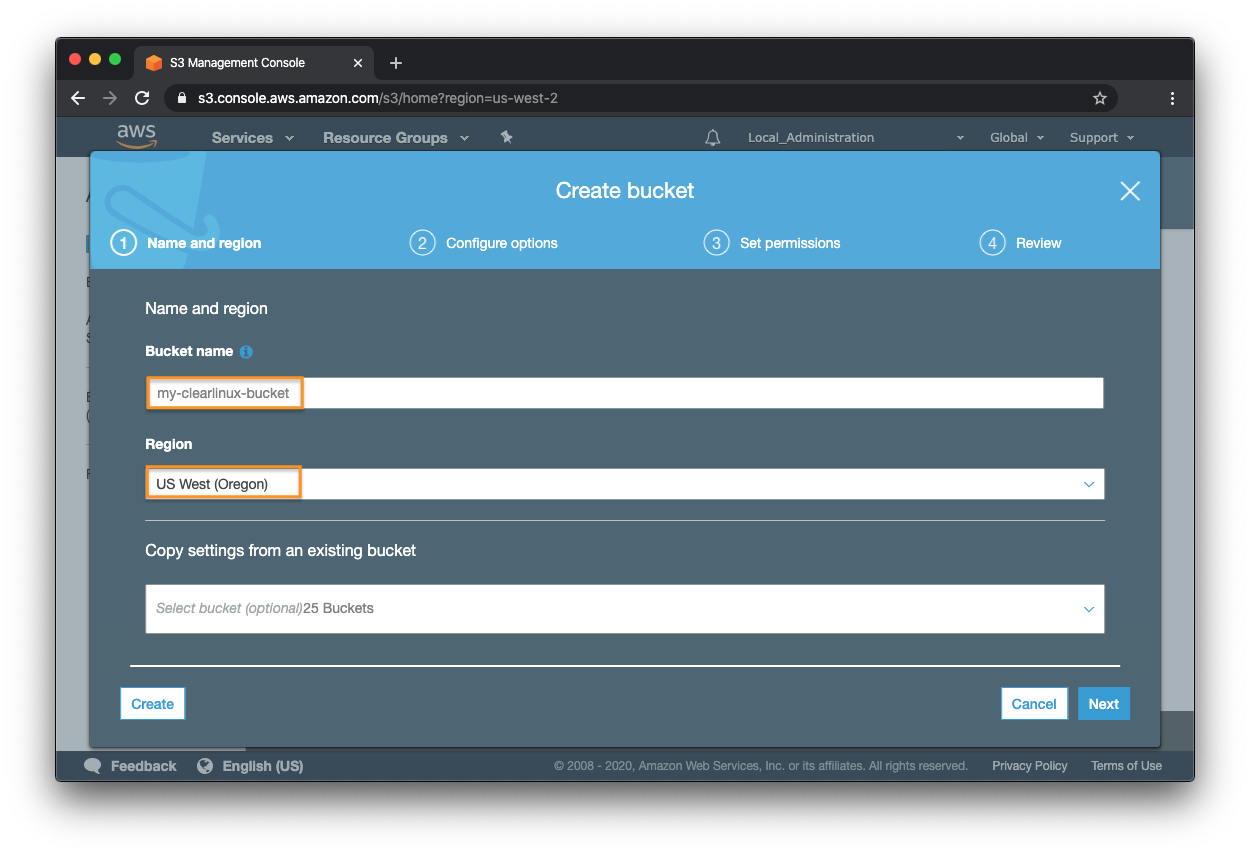
Figure 3: AWS S3 - Create bucket - Set bucket name and region
Leave the Configure options and Set permissions settings as is or configure as desired. See Figure 4 and 5.
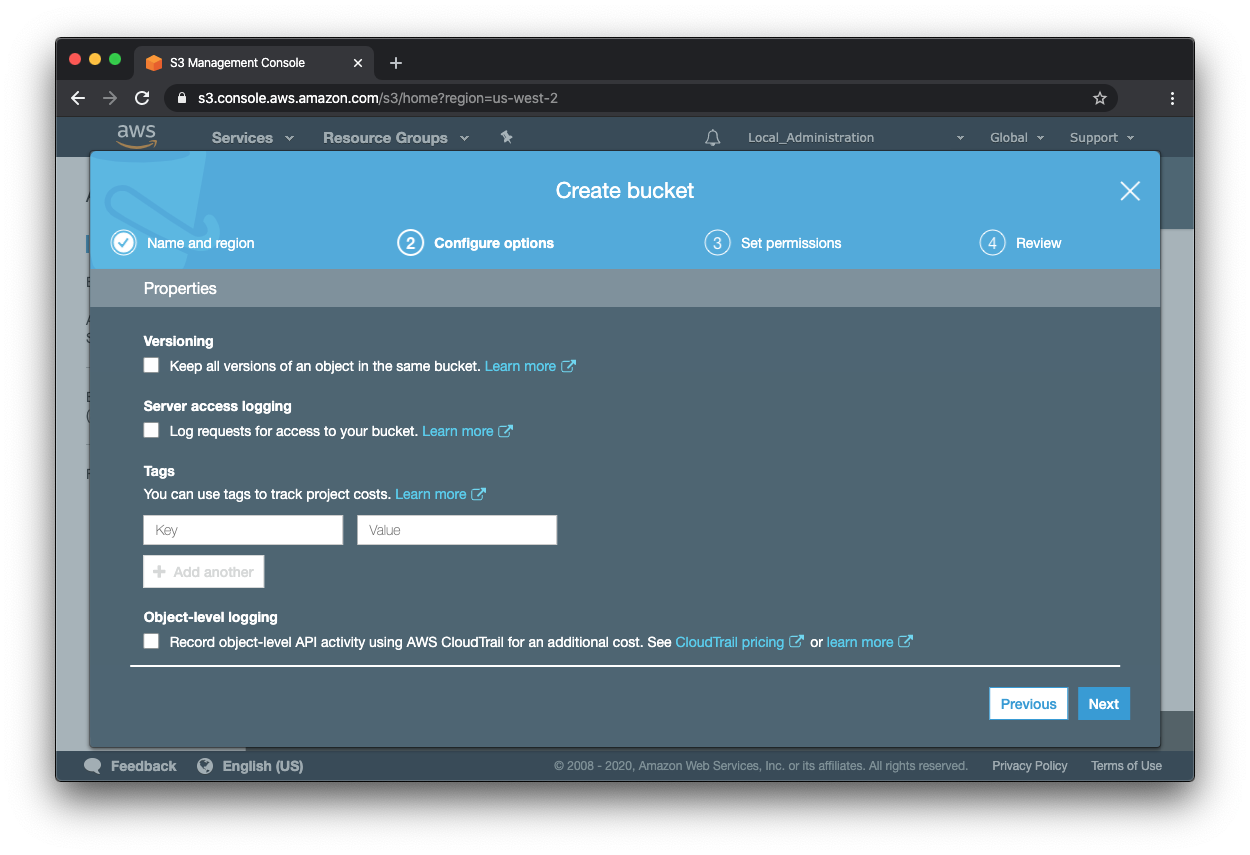
Figure 4: AWS S3 - Create bucket - Configure options
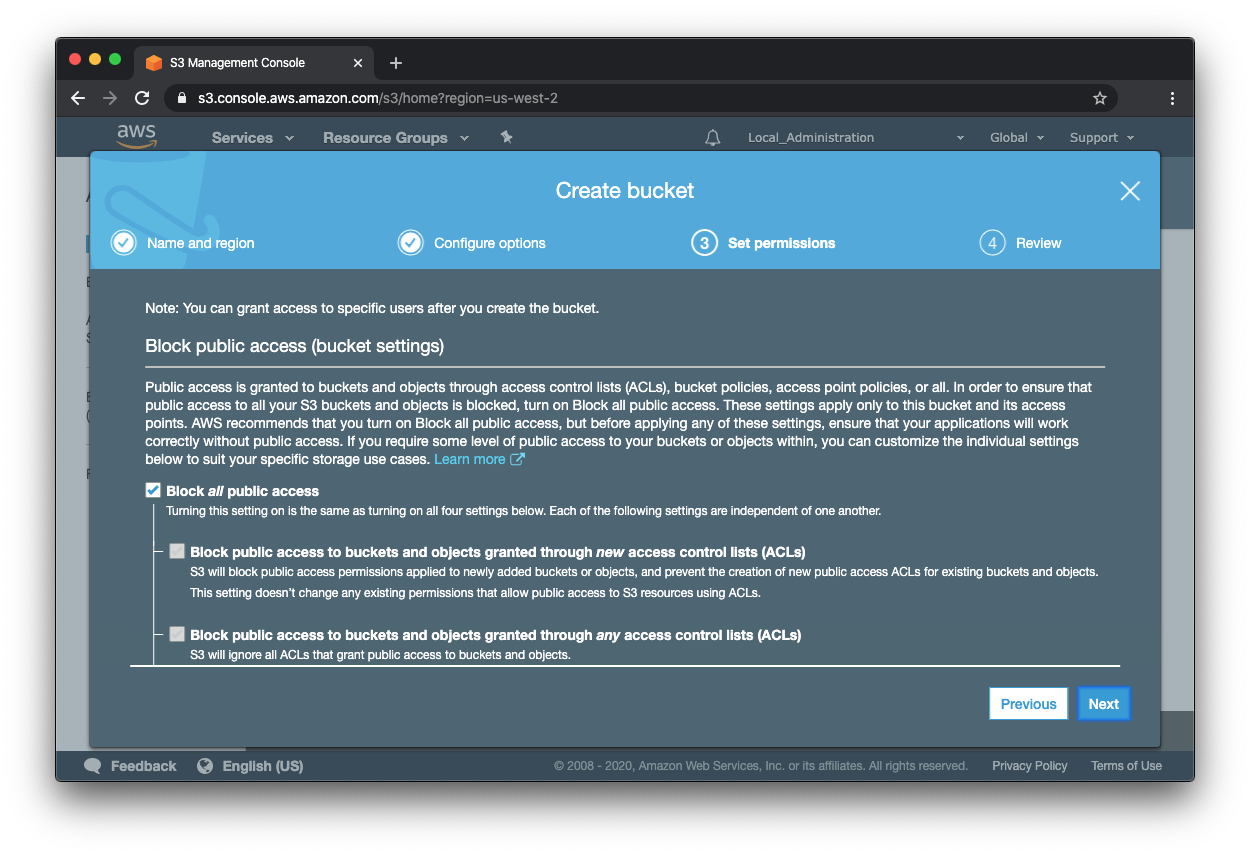
Figure 5: AWS S3 - Create bucket - Set permissions
At the Review screen, click Create bucket.
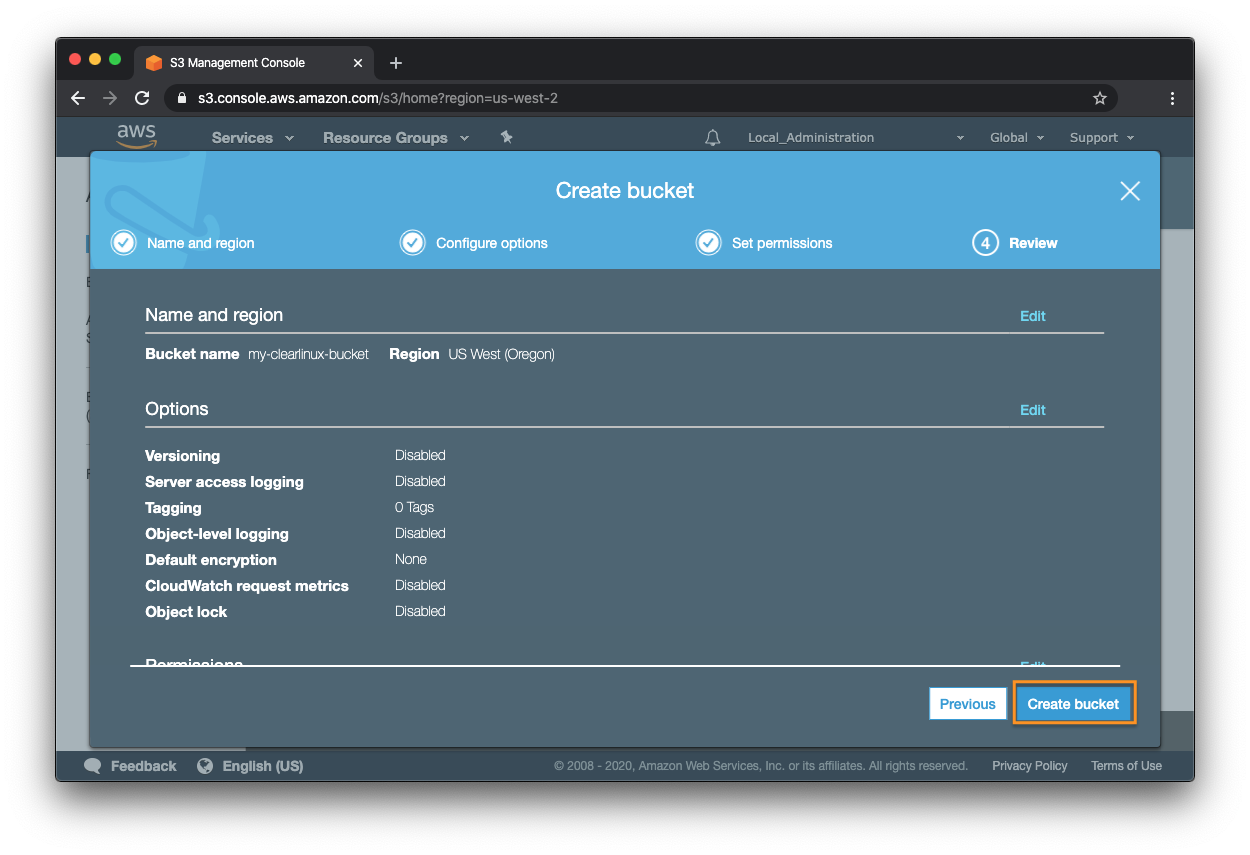
Figure 6: AWS S3 - Create bucket - Review
The created bucket should appear. See Figure 7.
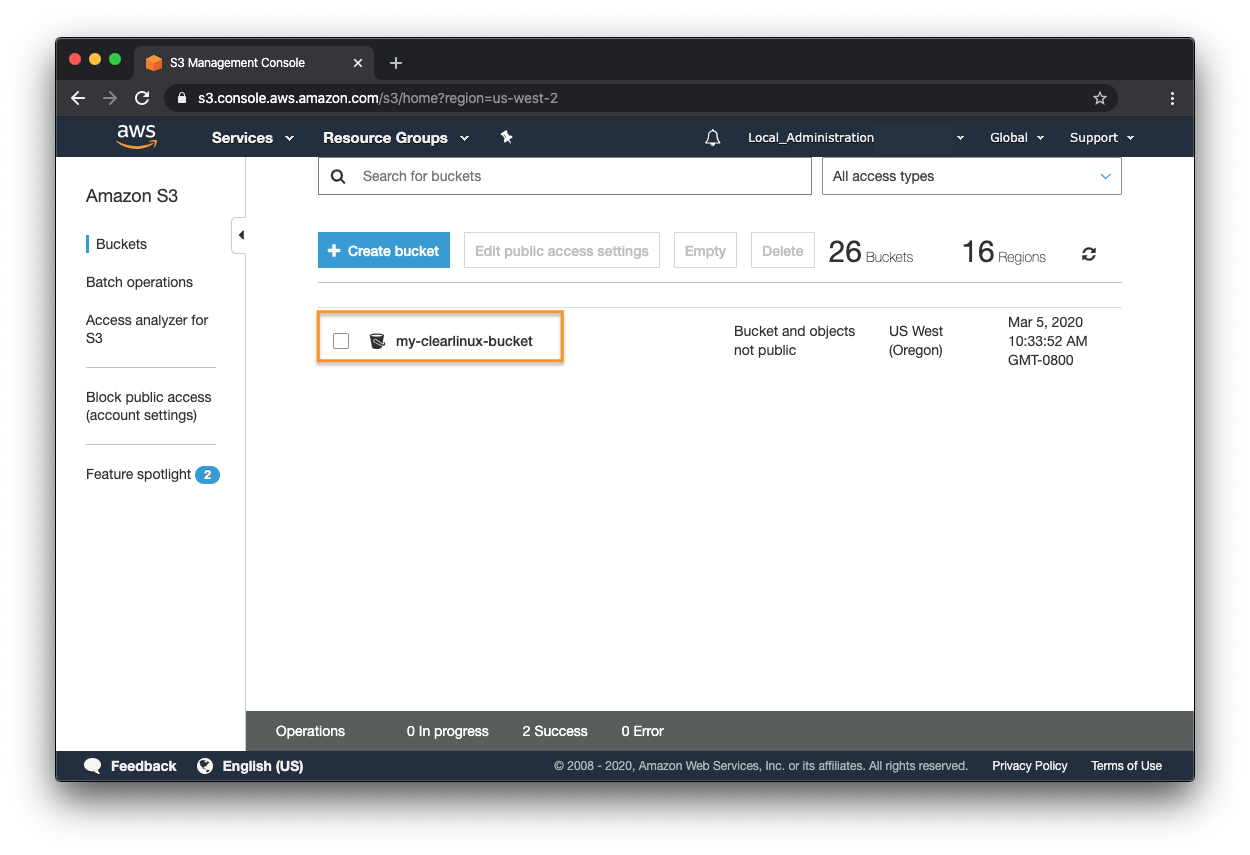
Figure 7: AWS S3 - Created bucket
Upload the Clear Linux OS image into the bucket
Click on the bucket. See Figure 8.
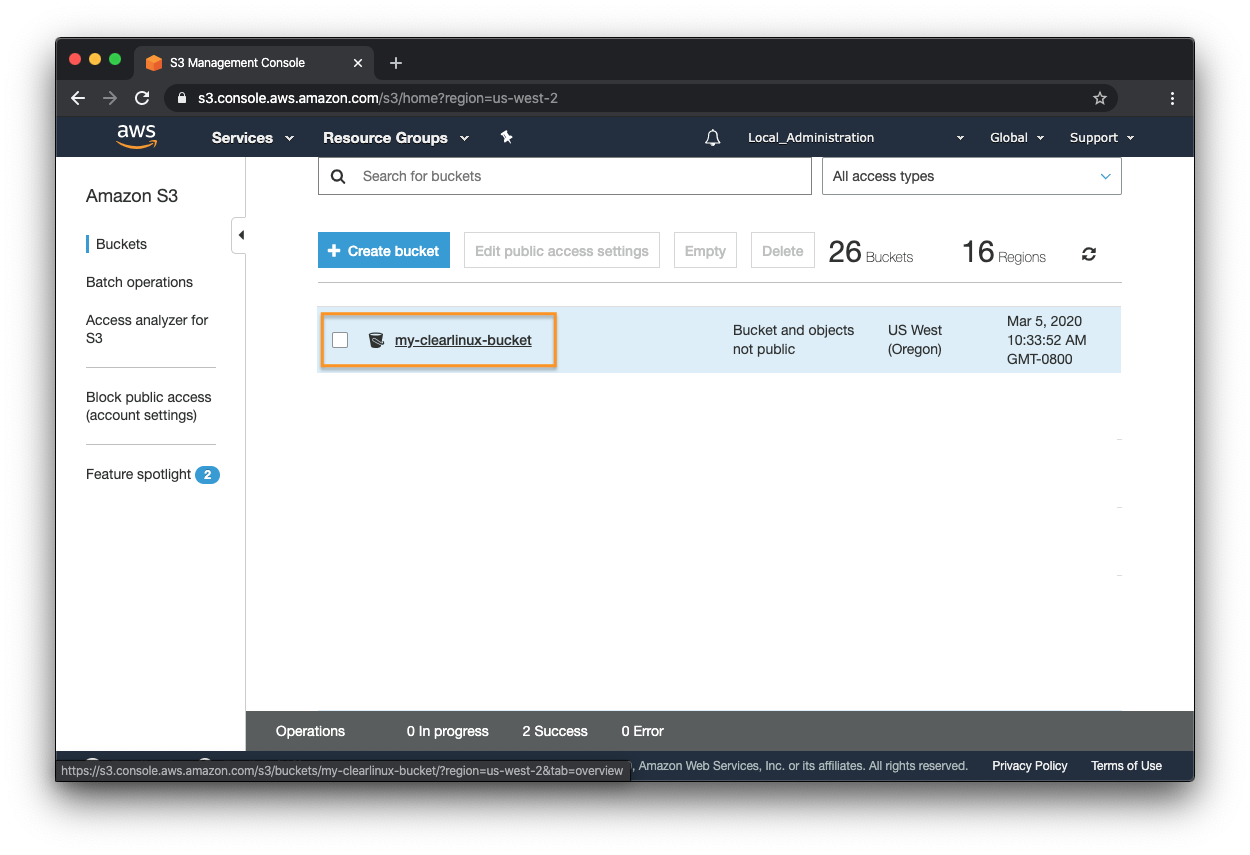
Figure 8: AWS S3 - Select bucket
Click Upload. See Figure 9.
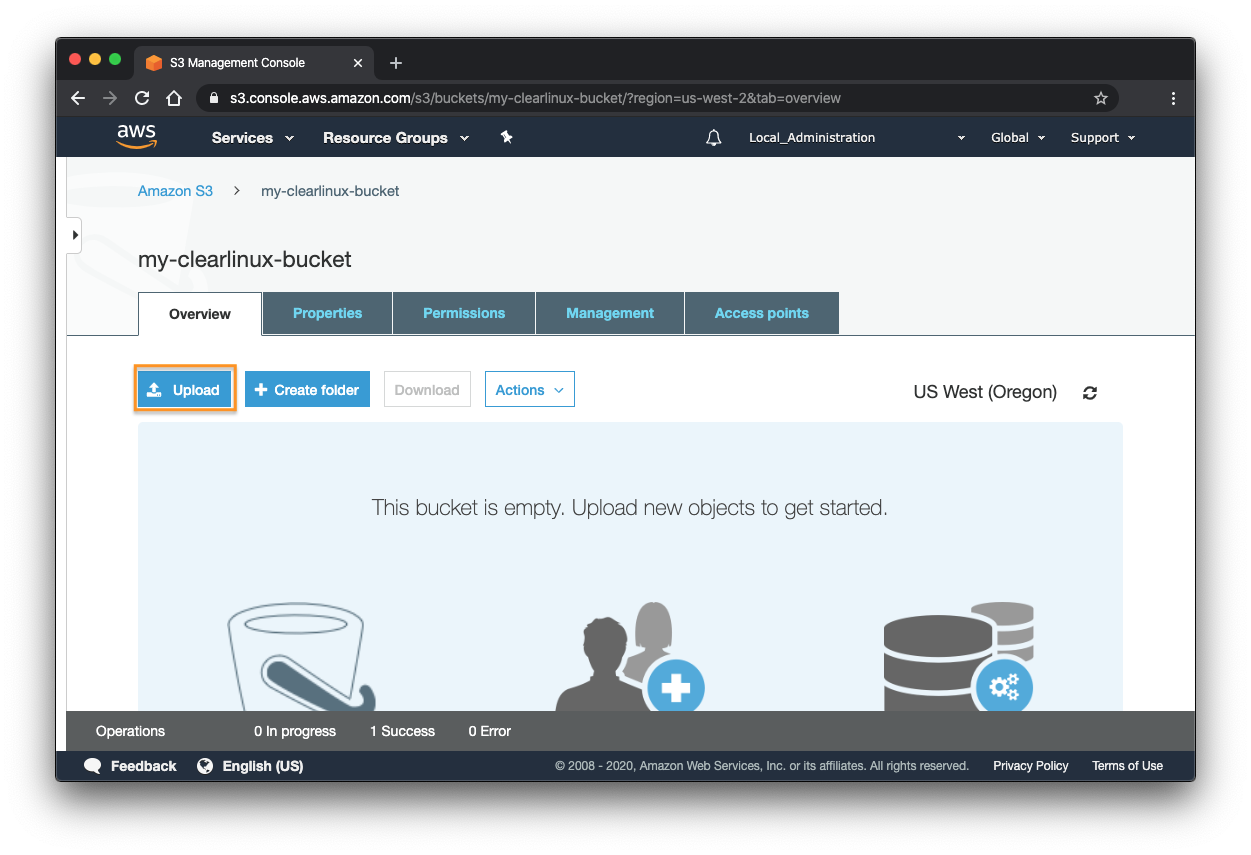
Figure 9: AWS S3 - Upload
Click Add files and select the Clear Linux OS image file to upload. See Figure 10.
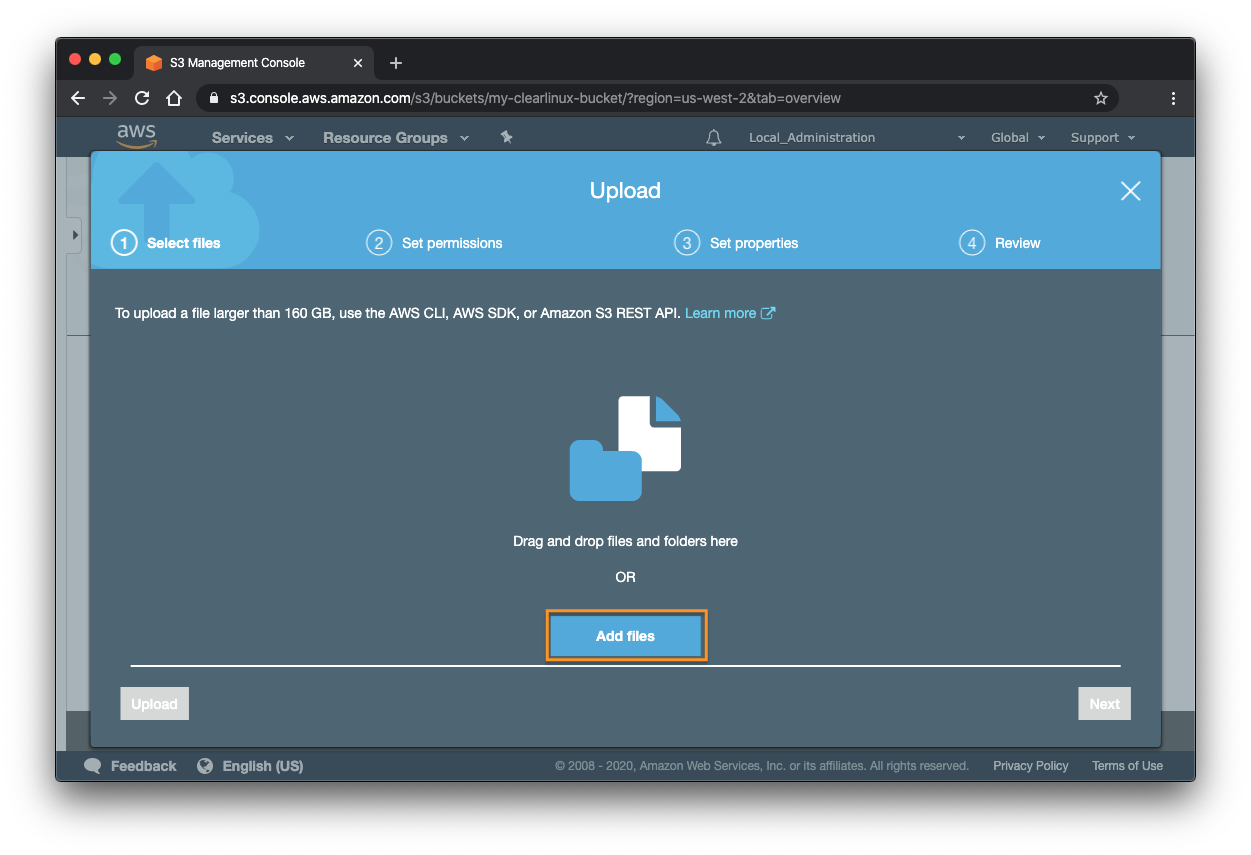
Figure 10: AWS S3 - Add files
Click Next. Leave remaining settings as is or set as desired. See Figure 11, Figure 12, and Figure 13.
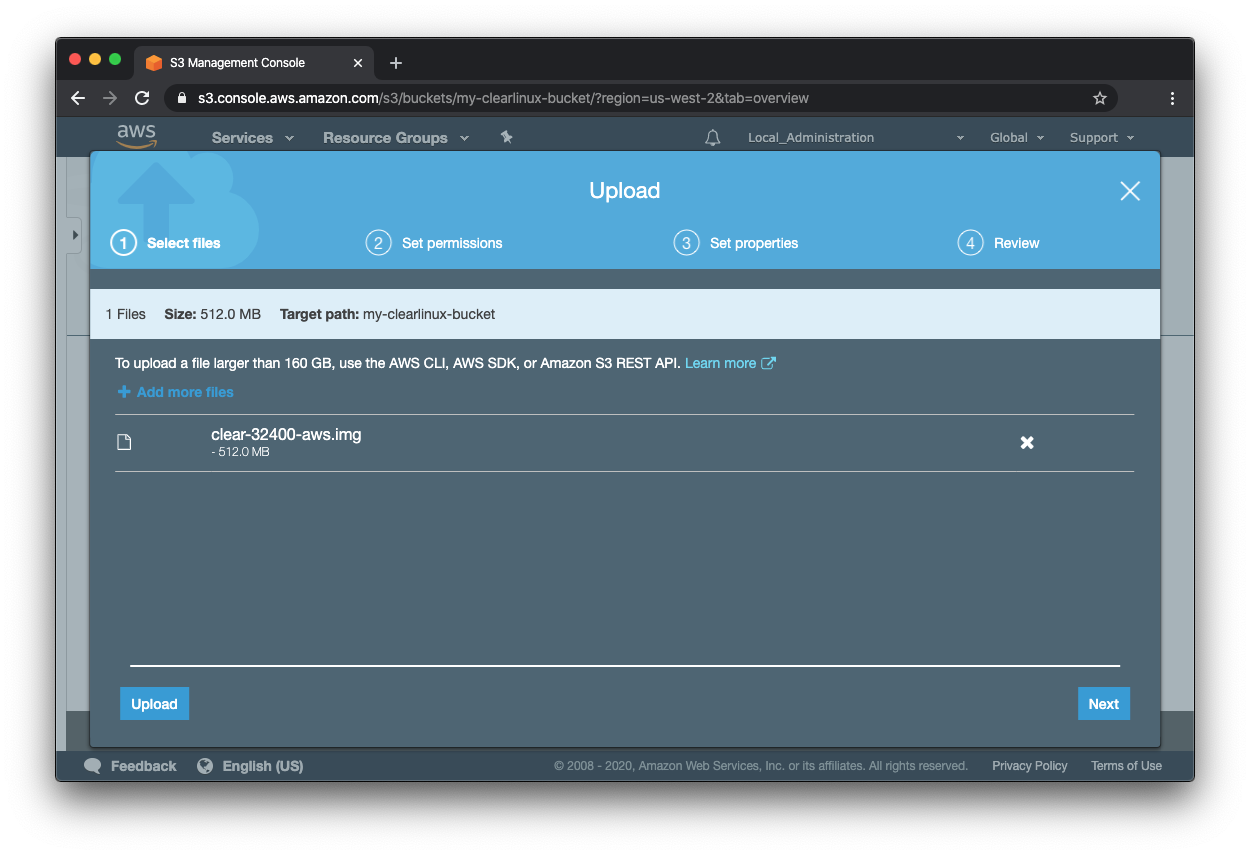
Figure 11: AWS S3 - Add files
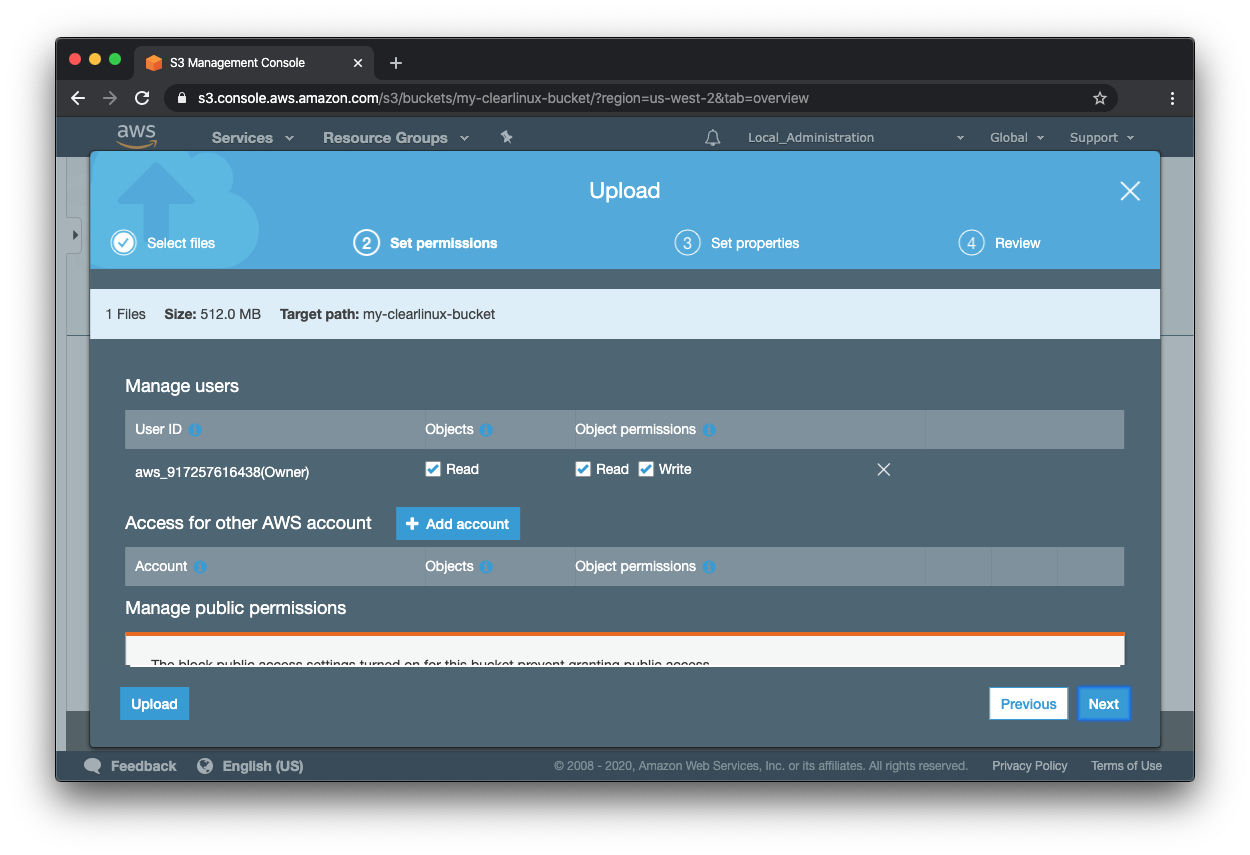
Figure 12: AWS S3 - Set permissions
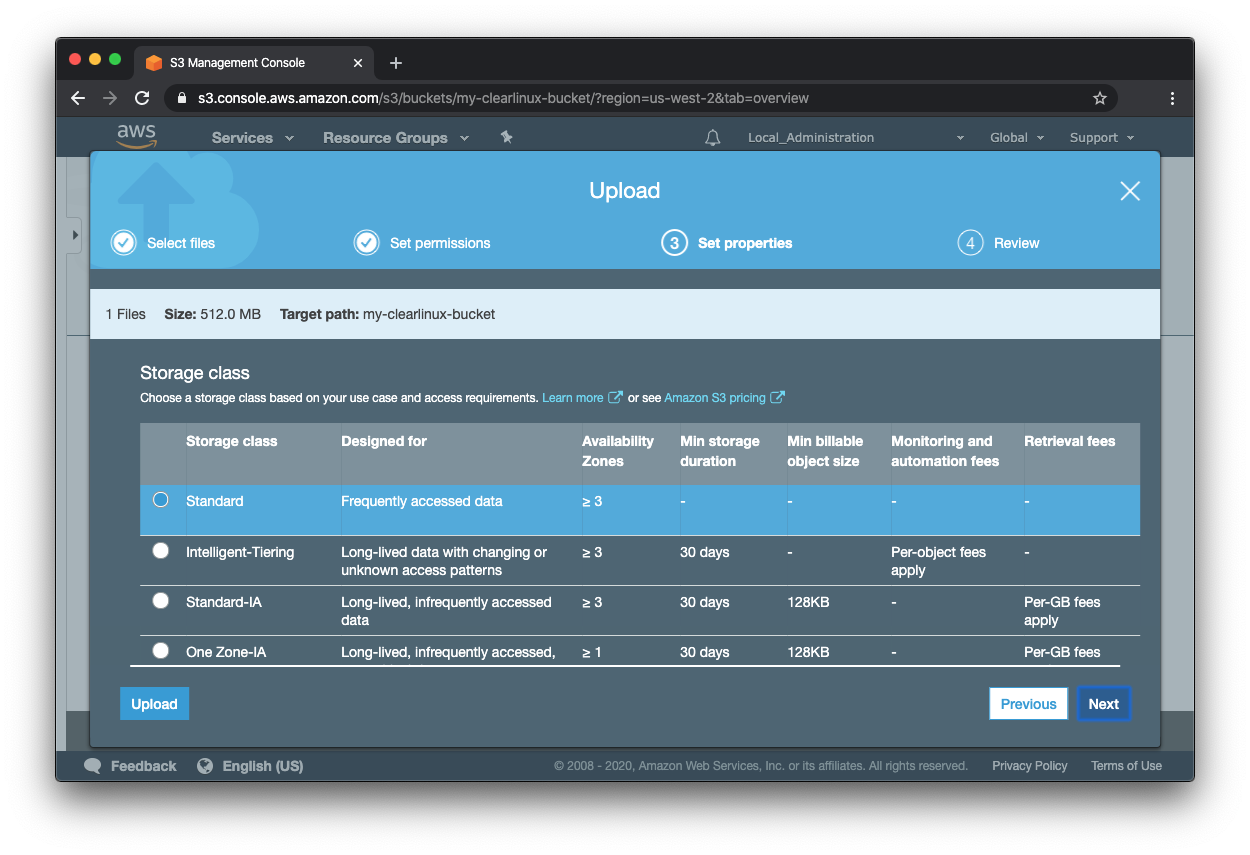
Figure 13: AWS S3 - Set properties
Click Upload to upload the image. See Figure 14.
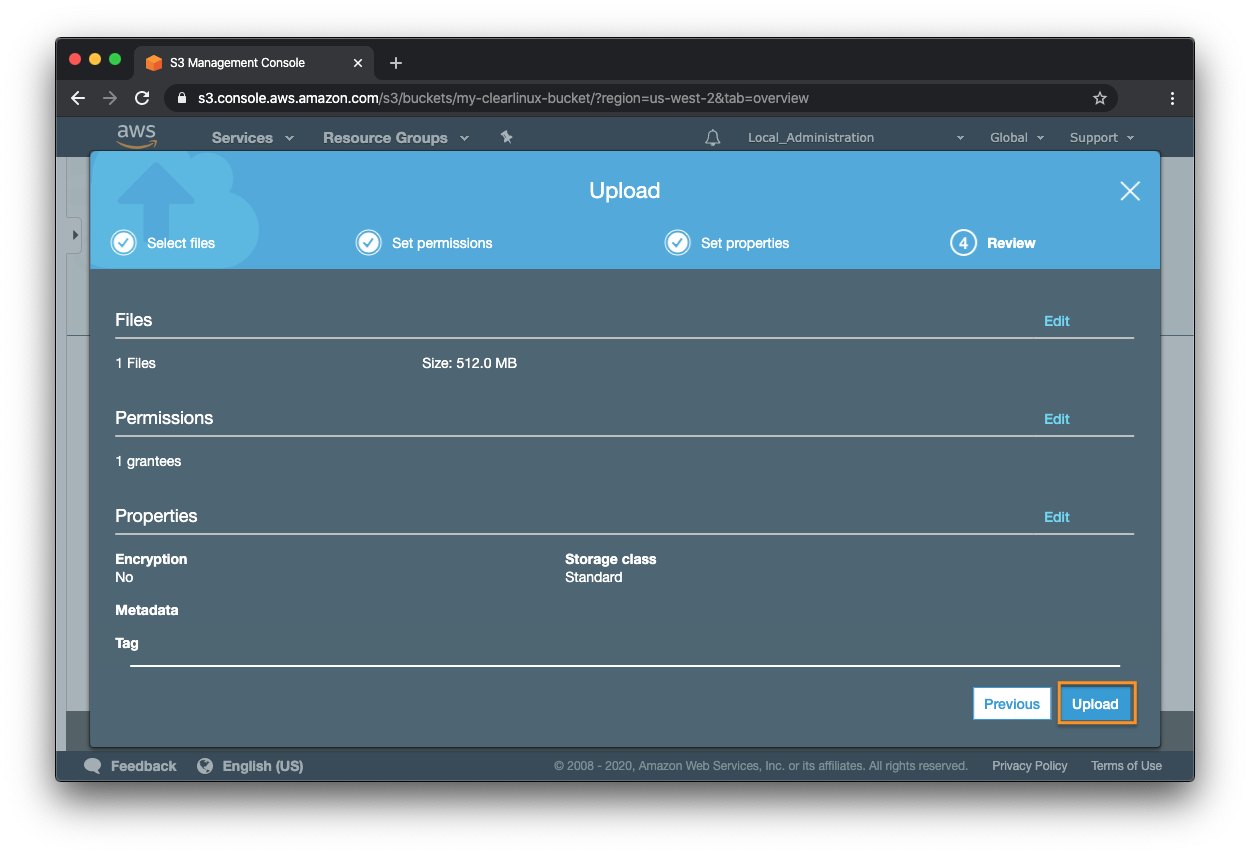
Figure 14: AWS S3 - Upload
Add a user to IAM with AWS_CLI privilege
Go to Services, Security, Identity, & Compliance, and select IAM. See Figure 15.
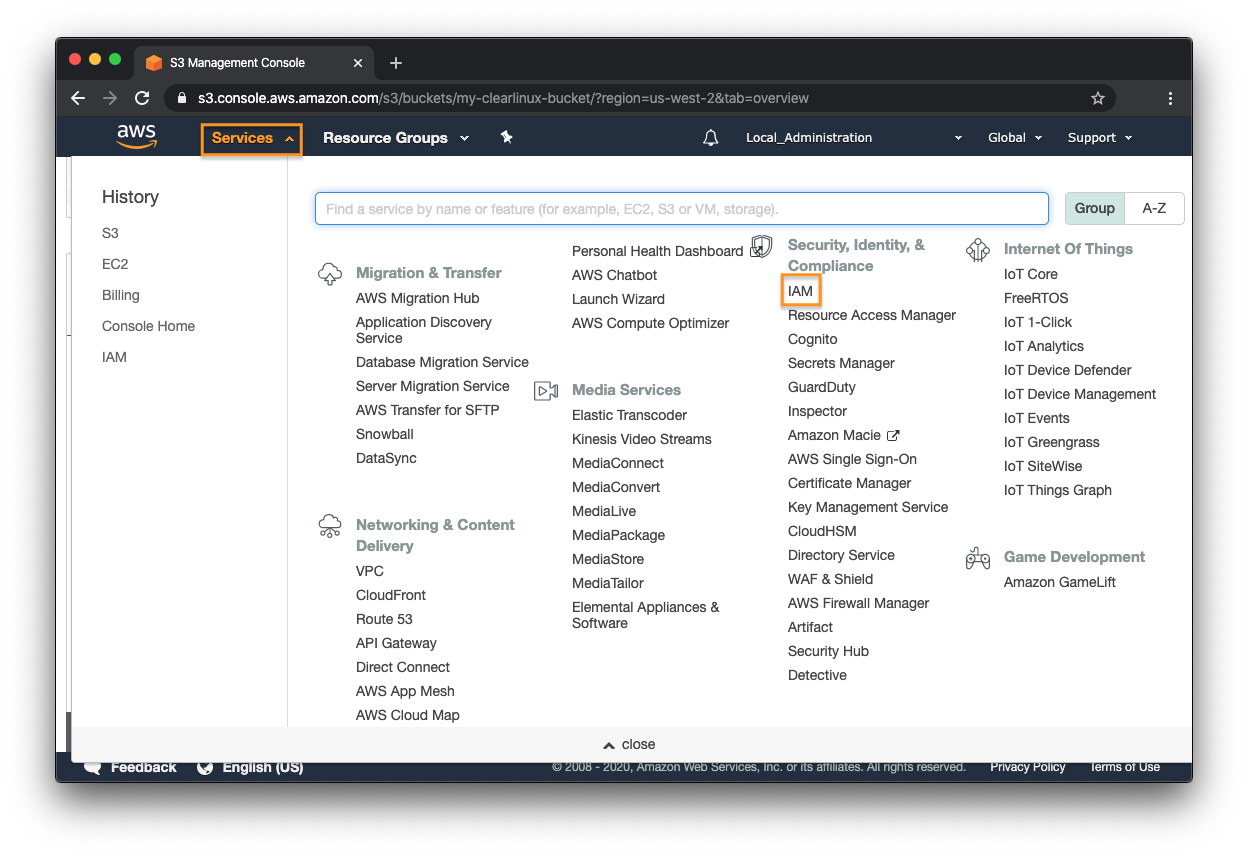
Figure 15: AWS Services - IAM
On the left navigation bar under Access management, select Users. See Figure 16.
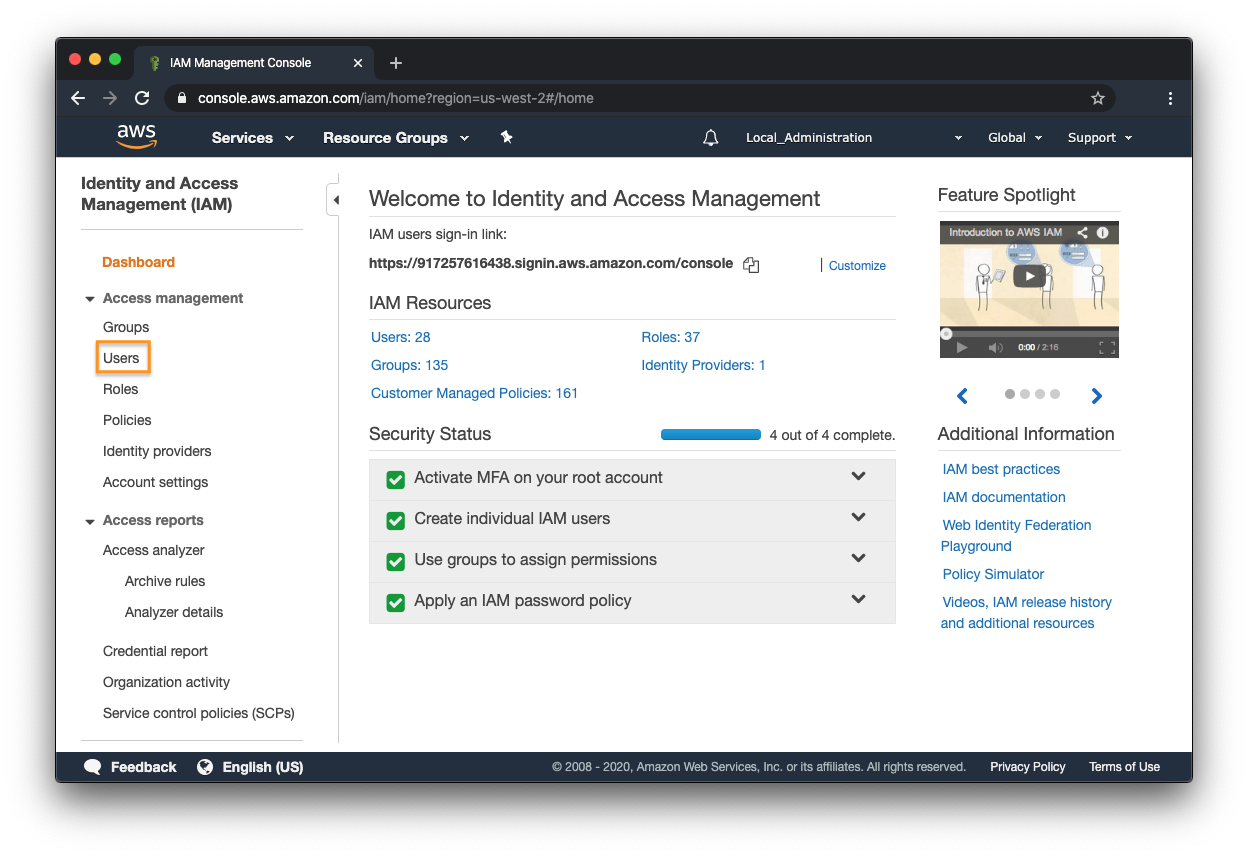
Figure 16: AWS AIM - Access management
Click Add user. See Figure 17.
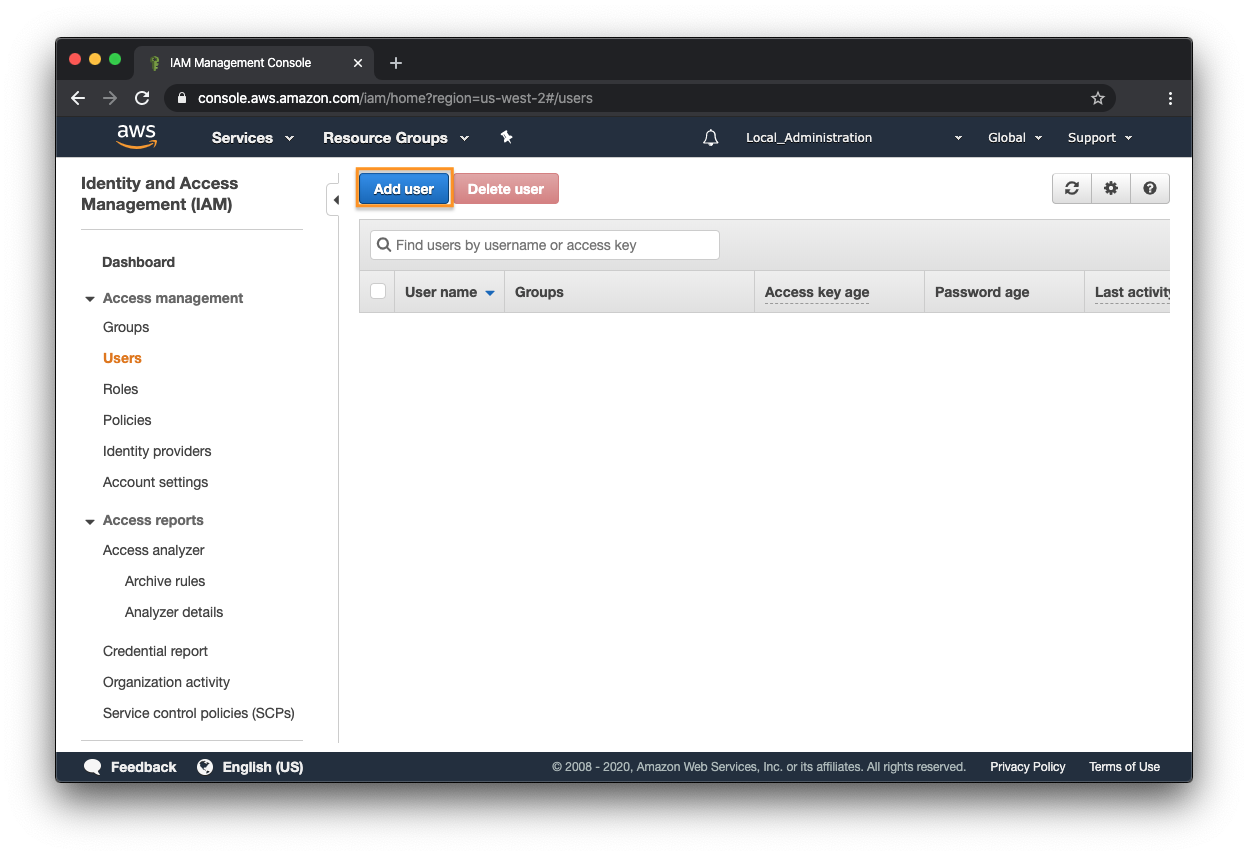
Figure 17: AWS AIM - Add user
Under the Set user details section, enter a user name. See Figure 18.
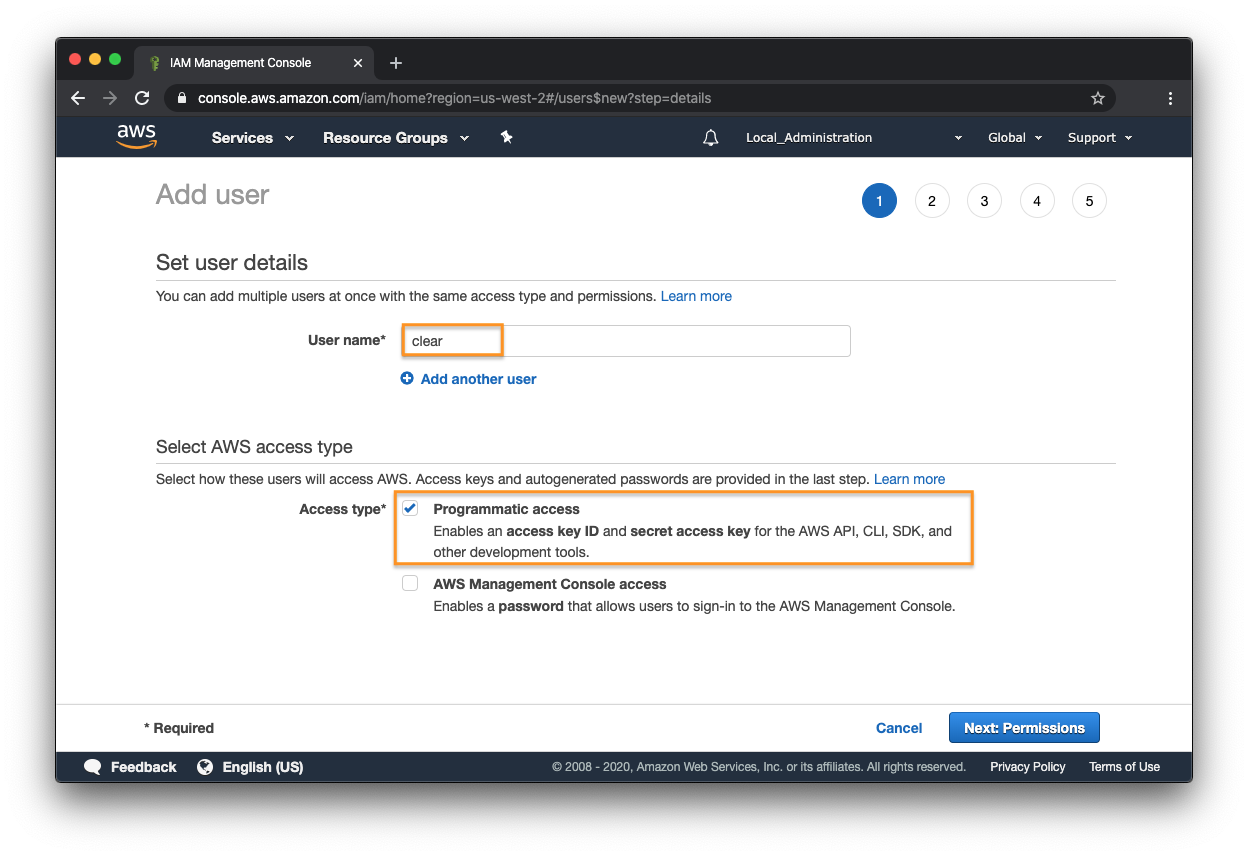
Figure 18: AWS AIM - Enter user name and select access type
Under the Select AWS access type section, checkmark Programmatic access. See Figure 18.
Click Next: Permissions.
Under Set permissions, select Add user to group. See Figure 19.
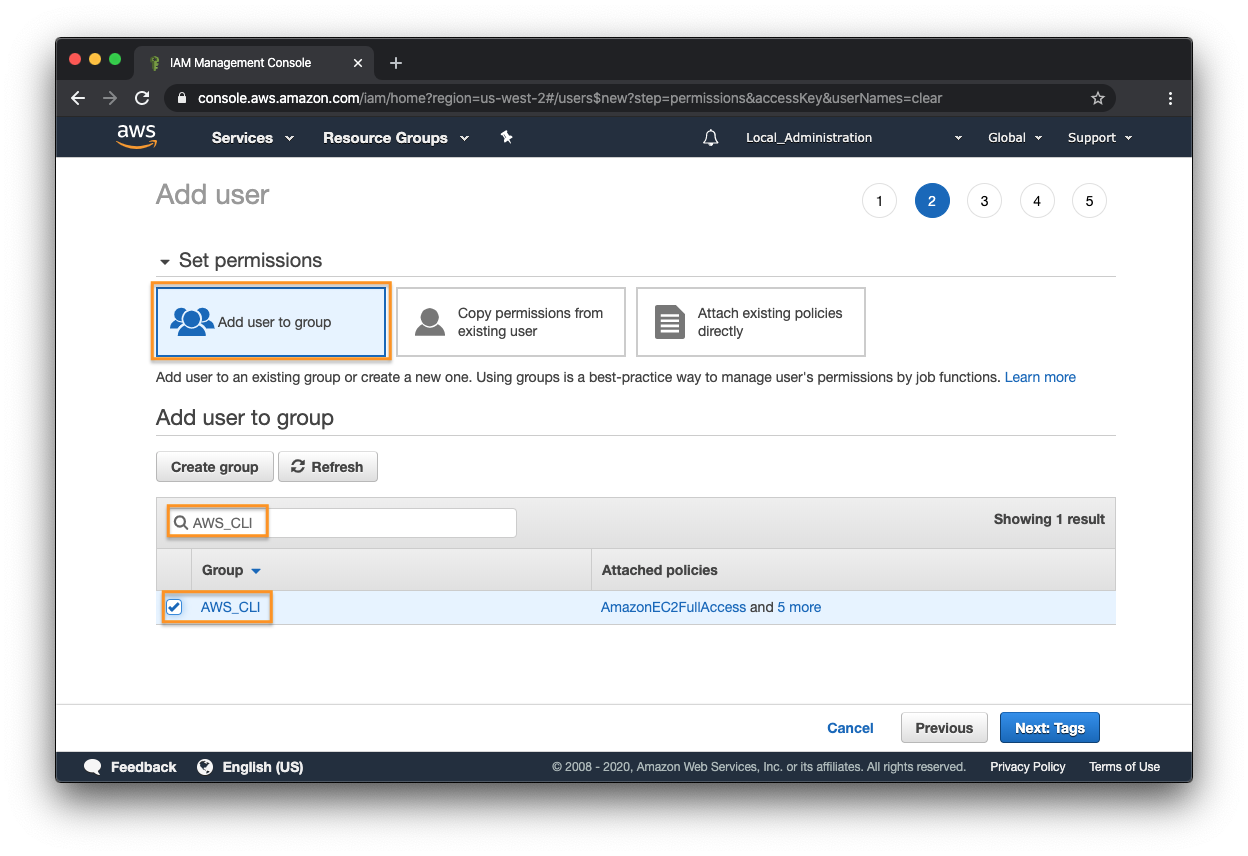
Figure 19: AWS AIM - Set user permissions
Under Add user to group, enter AWS_CLI into search window. Checkmark AWS_CLI. See Figure 19.
Click Next: Tags.
Click Next: Review.
Click Create user. See Figure 20.
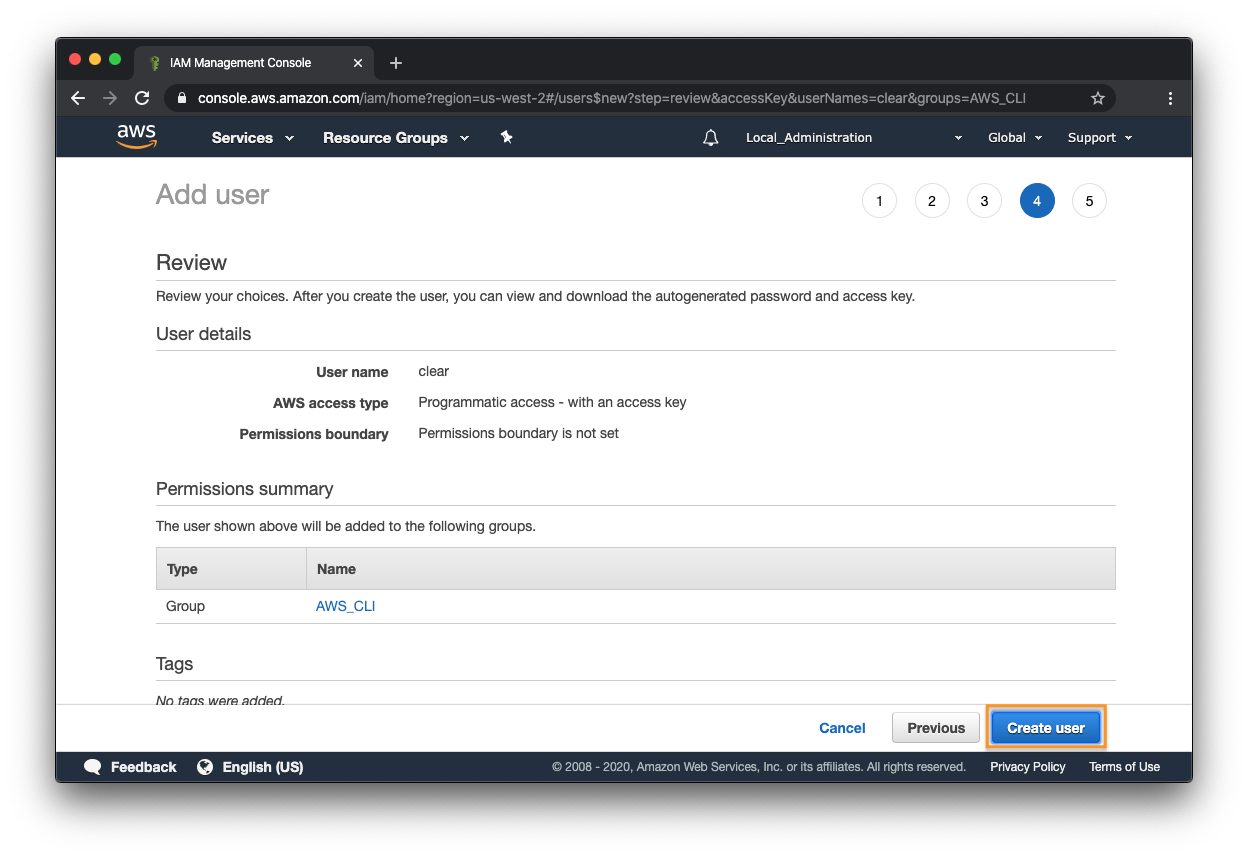
Figure 20: AWS AIM - Create user
After the user is successfully added, save the Access key ID and the Secret access key. These will be used when setting up the AWS CLI tool at a later step. See Figure 21.
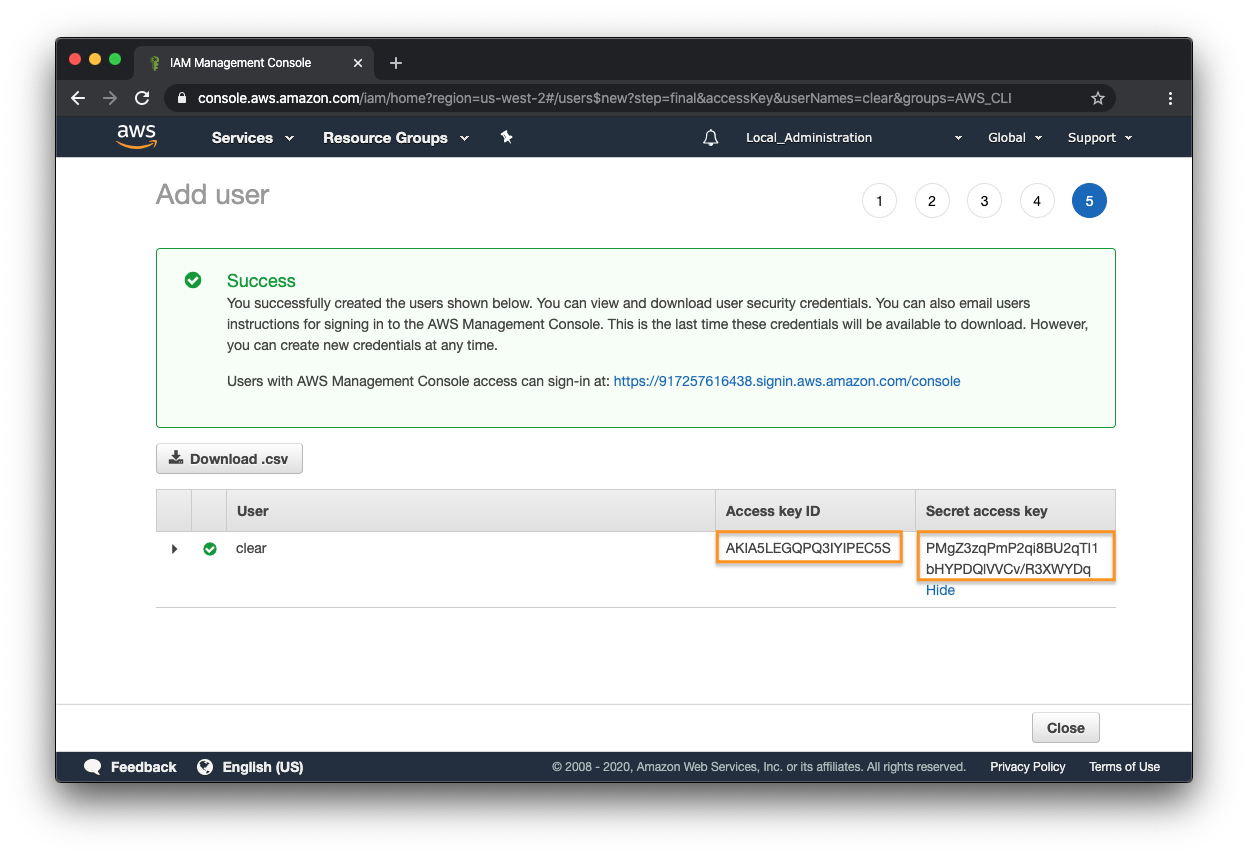
Figure 21: AWS AIM - Access key ID and secret access key
Click Close.
Install and configure the AWS CLI tool on your system
To install the tool on Clear Linux OS, simply run:
sudo swupd bundle-add cloud-api
Configure it with your security credentials, default region, and default output format. See Configuring the AWS CLI for more information.
aws configureBelow is an example (using the security credentials that was created in the previous section):
AWS Access Key ID [None]: AKIA5LEGQPQ3EUB3JMS7
AWS Secret Access Key [None]: EcvbWpWr+Gp7NhBoVEacwR3EifzN7xTTg8B1PHvO
Default region name [None]: us-west-2
Default output format [None]: json
Verify your credentials are good.
aws iam list-access-keys
If you get something like the example below, then make sure you set your system date and time properly.
An error occurred (SignatureDoesNotMatch) when calling the ListAccessKeys operation: Signature expired: 20200305T153154Z is now earlier than 20200305T231847Z (20200305T233347Z - 15 min.)
Import a snapshot of the Clear Linux OS image
Create a
container.jsonwith the description of the image to import. Specify the name of the S3 bucket that was created earlier for the S3Bucket field and the name of Clear Linux OS image that was uploaded to the S3 bucket for the S3Key.Here’s an example:
{
  "Description": "My Clear Linux AWS 32400 Image",
  "Format": "raw",
  "UserBucket": {
    "S3Bucket": "my-clearlinux-bucket",
    "S3Key": "clear-32400-aws.img"
  }
}
Import a snapshot of the image.
aws ec2 import-snapshot \
--description "My Clear Linux AWS 32400 Snapshot" \
--disk-container file://container.json
You should get an output similar this example:
  {
    "Description": "My Clear Linux AWS 32400 Snapshot",
    "ImportTaskId": "import-snap-00fa9ccd98e9b8378",
    "SnapshotTaskDetail": {
        "Description": "My Clear Linux AWS 32400 Snapshot",
        "DiskImageSize": 0.0,
        "Format": "RAW",
        "Progress": "3",
        "Status": "active",
        "StatusMessage": "pending",
        "UserBucket": {
            "S3Bucket": "my-clearlinux-bucket",
            "S3Key": "clear-32400-aws.img"
        }
    }
}
Using the ImportTaskId from the previous step, check the status of the import. For example:
snapshot_id=$(aws ec2 describe-import-snapshot-tasks \
--import-task-ids "import-snap-00fa9ccd98e9b8378" \
| grep SnapshotId | awk -F '"' '{print $4}')
Wait for the Status field to show completed before proceeding.
The resulting snapshot_id will be used to create an AMI in the next section.
Create an AMI from the snapshot
There are 2 methods to create an AMI from the snapshot.
AWS CLI Method:
aws ec2 register-image \
--name "My-Clear-Linux-32400-AMI" \
--description "My Clear Linux 32400 AMI" \
--architecture x86_64 \
--virtualization-type hvm \
--ena-support \
--root-device-name "/dev/sda1" \
--block-device-mappings "[
  {
    \”Deviceame\": \"/dev/sda1\",
    \"Ebs\": {
      \"SnapshotId\": \"$snapshot_id\"
    }
  }
]"
GUI Method:
Go to Services, Compute, and select EC2. See Figure 22.
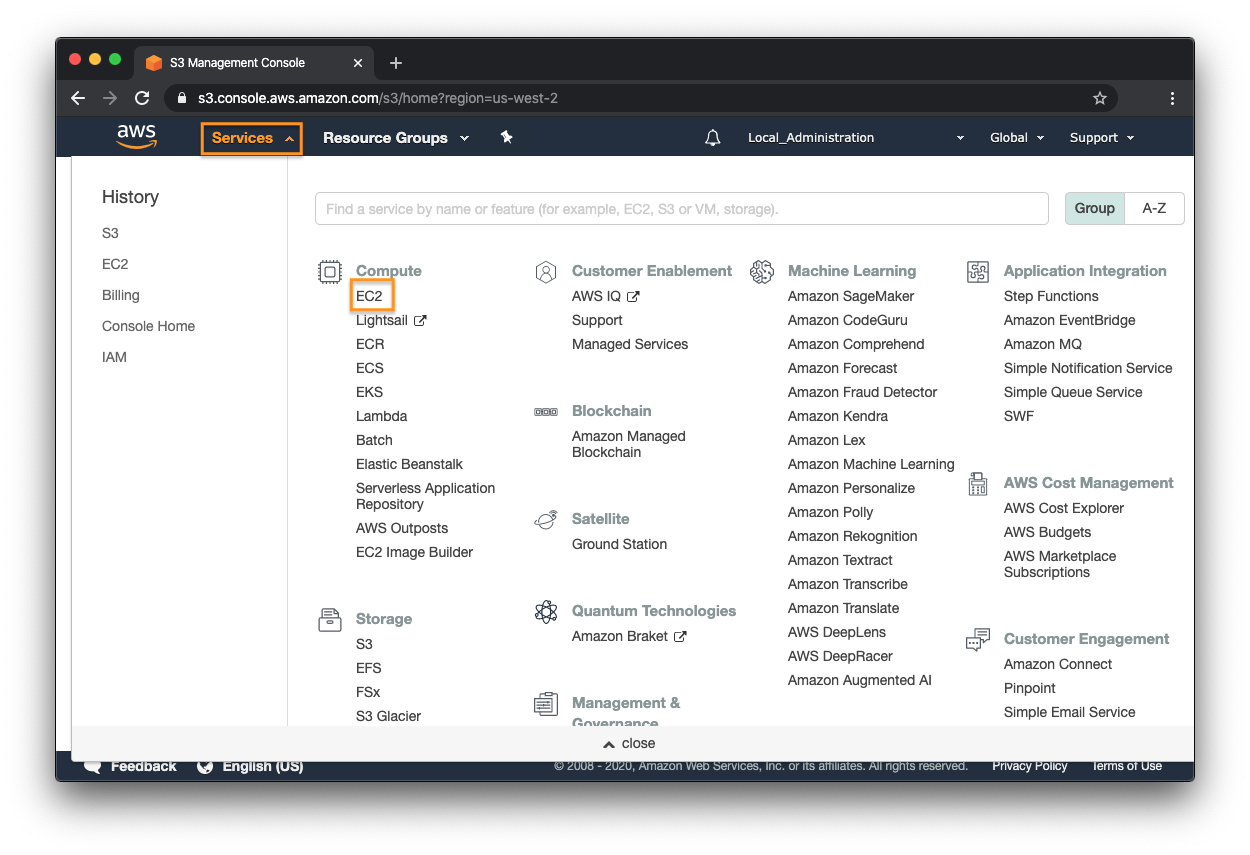
Figure 22: AWS Services - EC2
Click Snapshots. See Figure 23.
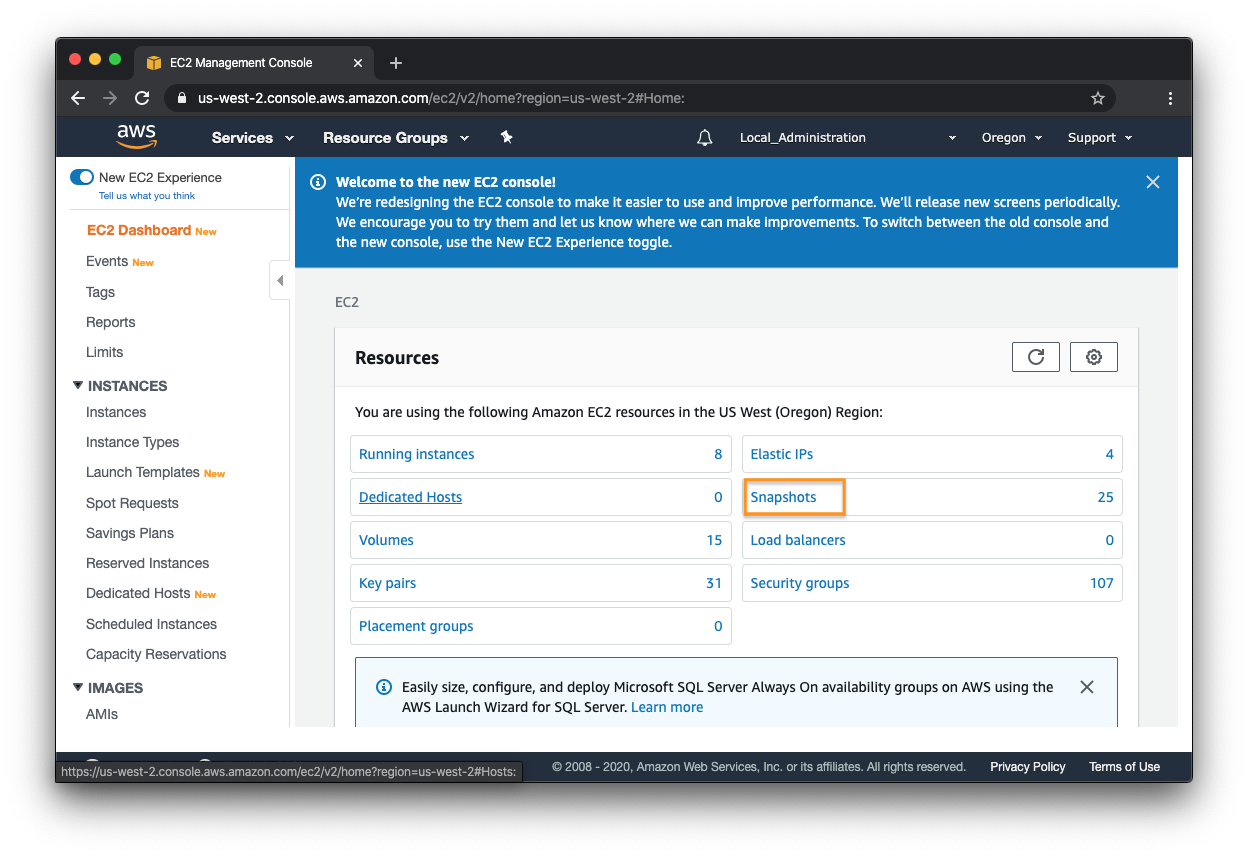
Figure 23: AWS Services - Snapshots
Locate the snaphot using the Snapshot ID. See Figure 24.
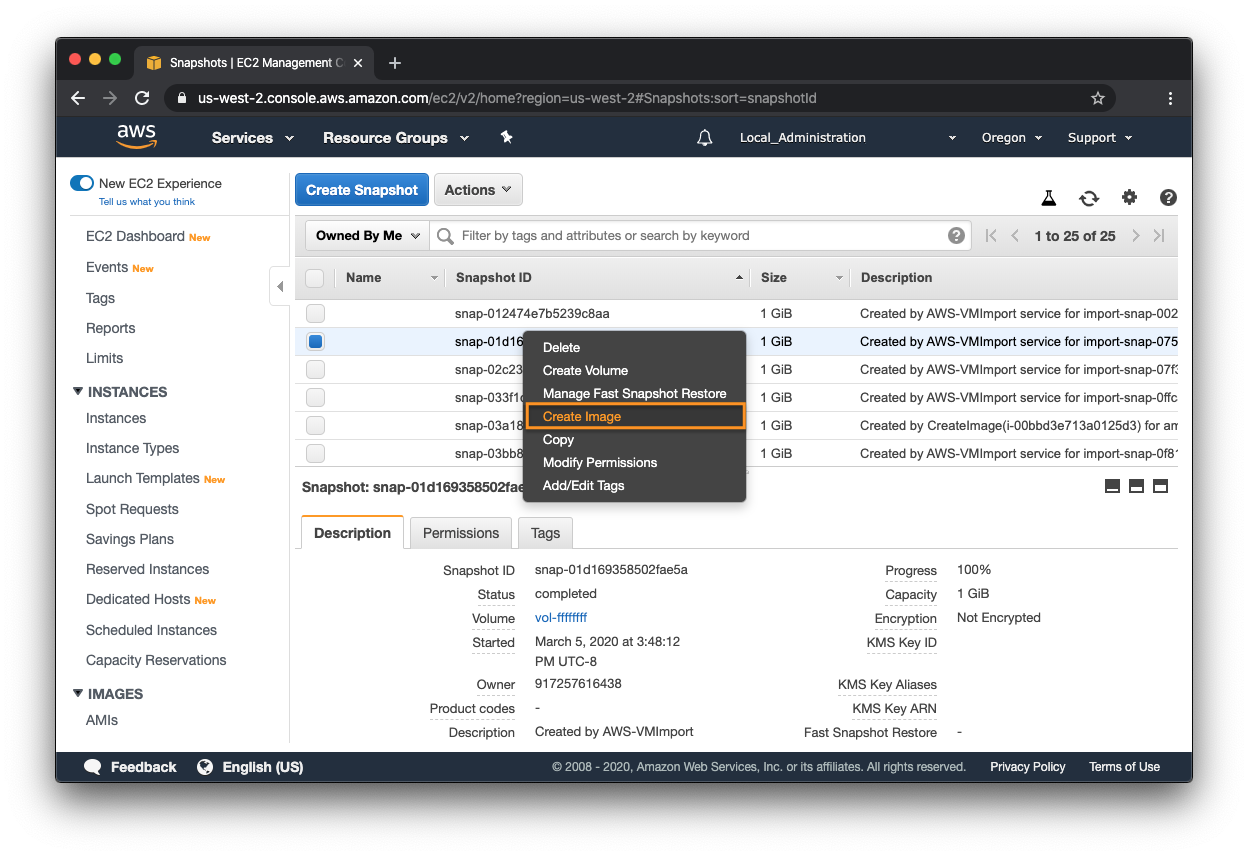
Figure 24: AWS Services - Snapshots
Right-click it and select Create Image.
Configure as follows:
Enter the name in the Name field
Enter the description in the Description field
Set the Architecture as x86_64
Set the Virtualization type as Hardware-assisted virtualization
Set the Root device name as /dev/sda1
See Figure 25.
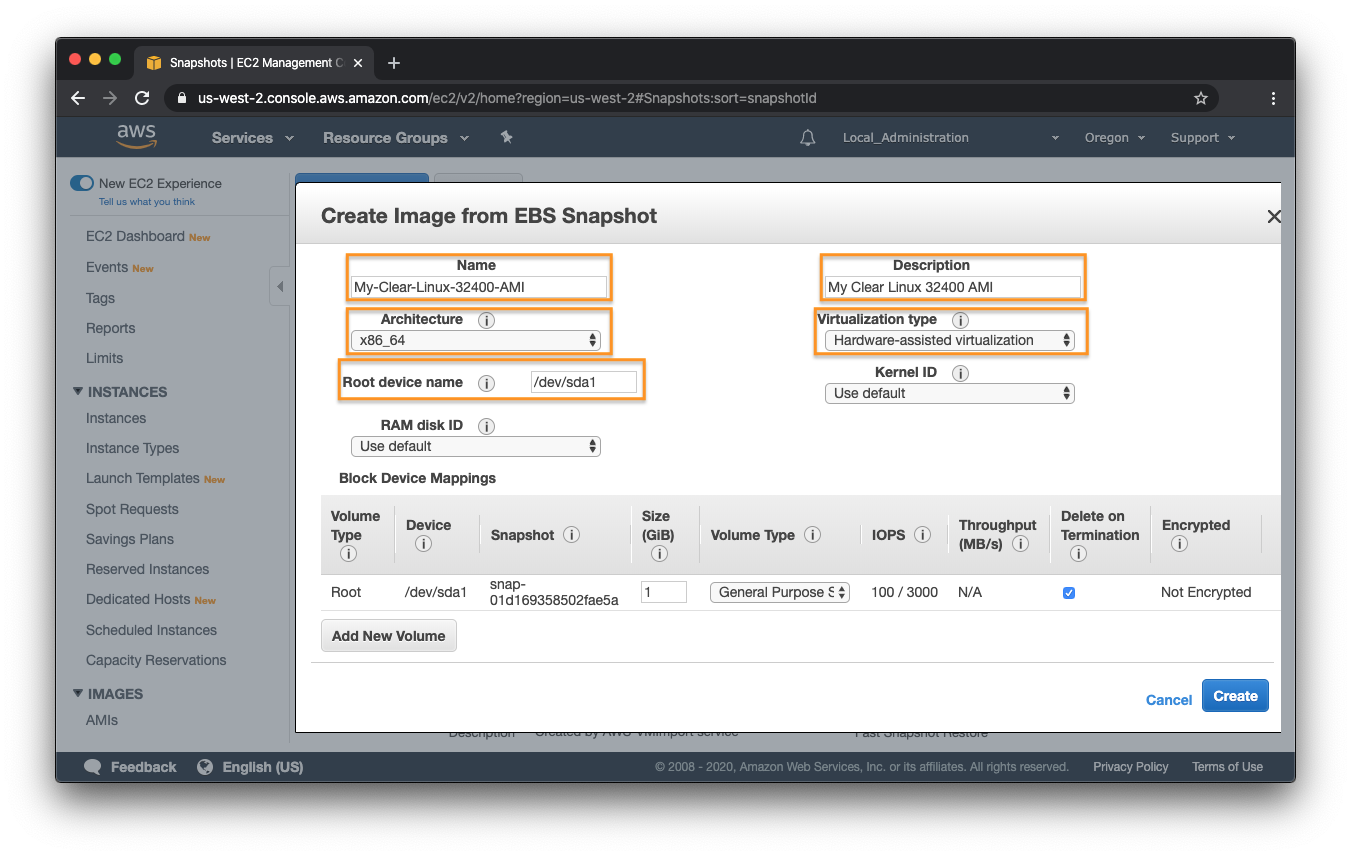
Figure 25: AWS Services - Snapshots
Click Create.
Launch an instance
Go to Services, Compute, and select EC2. See Figure 26.
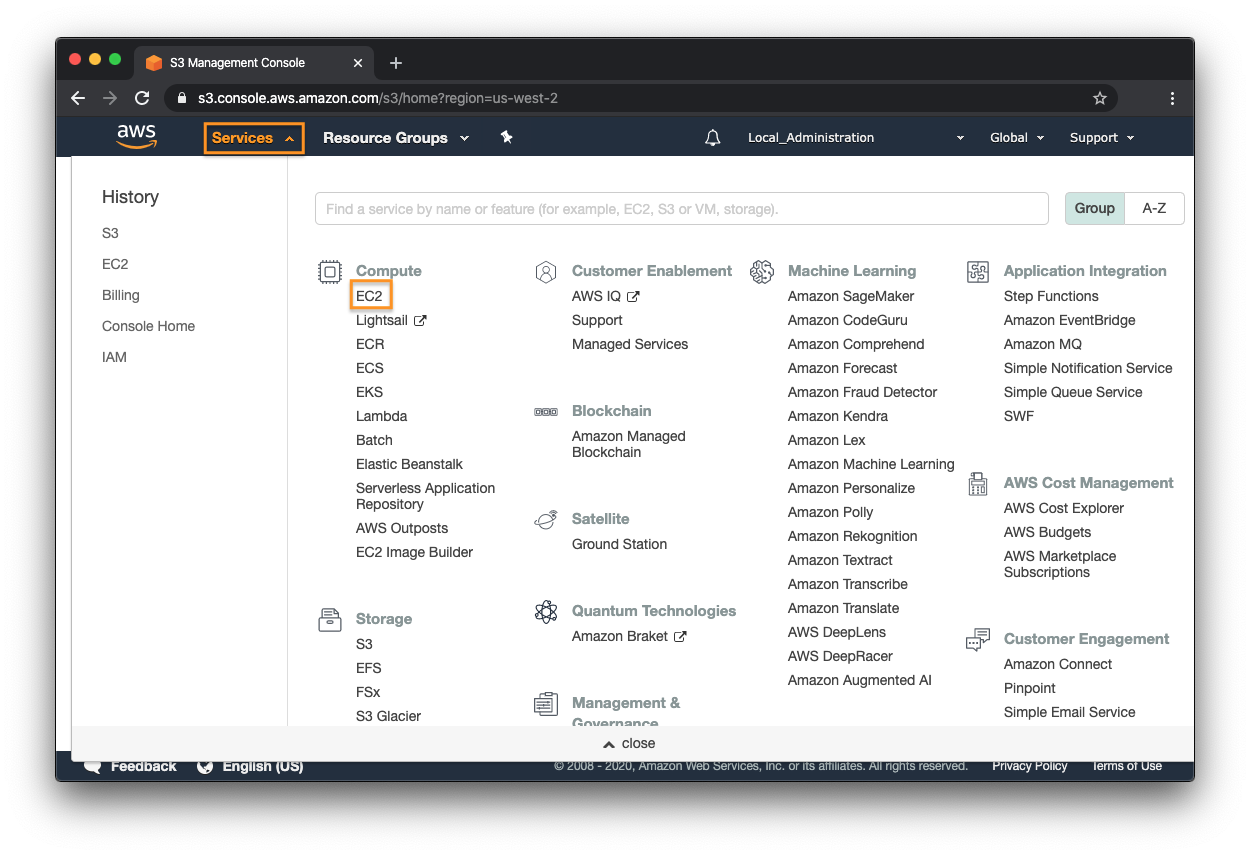
Figure 26: AWS Services - EC2
Click the Launch Instance dropdown and select Launch Instance. See Figure 27.
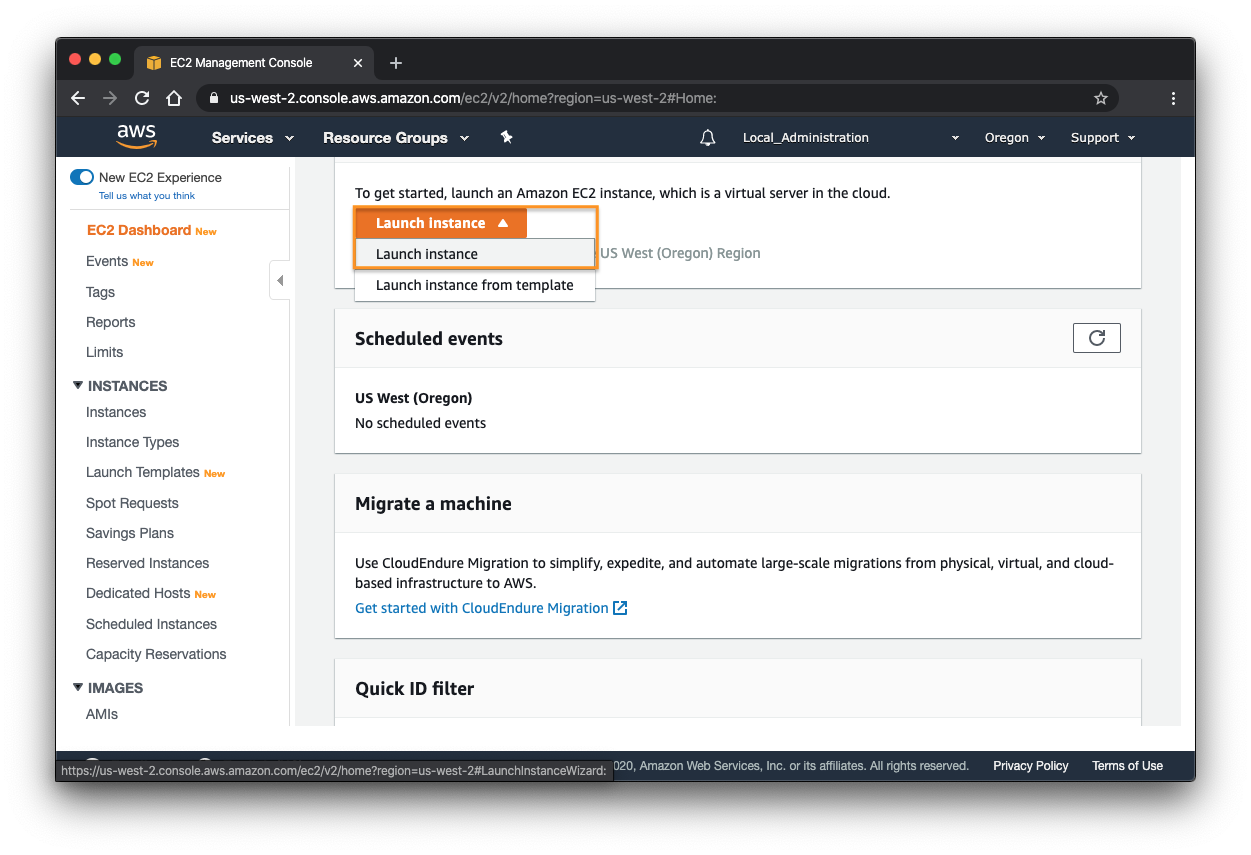
Figure 27: AWS Services - Launch instance
On the left navigation bar, select My AMIs. See Figure 28.
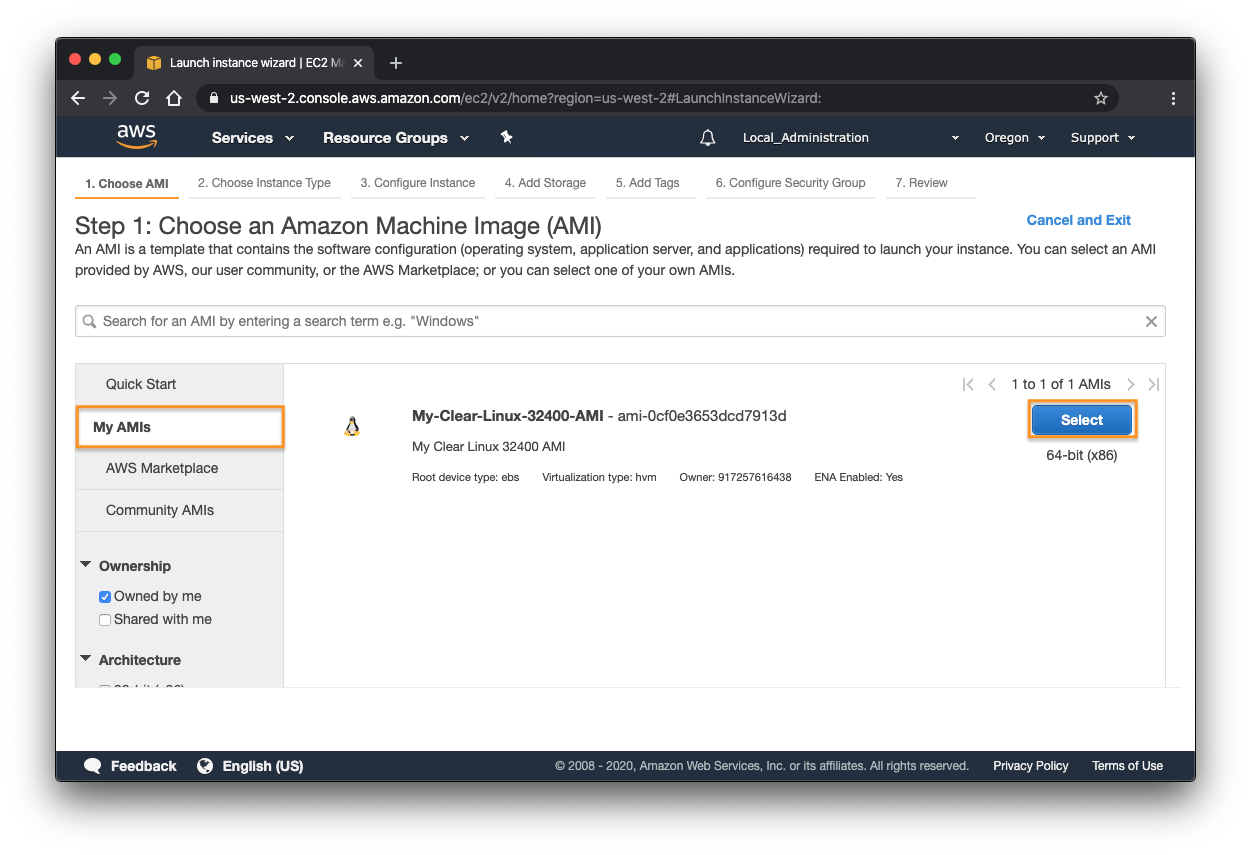
Figure 28: AWS Services - Select AMI
Find your AMI and click Select.
From here onward, configure the details of your instance as desired and launch it.
Connect to your Clear Linux OS instance
Follow these steps to connect to your instance.
